Join Threadhead TV to DIY this gorgeous mix of high-low – denim & red velvet – to give your tired couch an amazing & easy makeover. Put old jeans to new use! Great upcycle project for an intermediate sewist.
For a list of supplies & detailed directions:
https://www.instructables.com/id/Ombre-Denim-Throw-Pillow/
Step 1: Paper Piecing & Cutting Your Denim
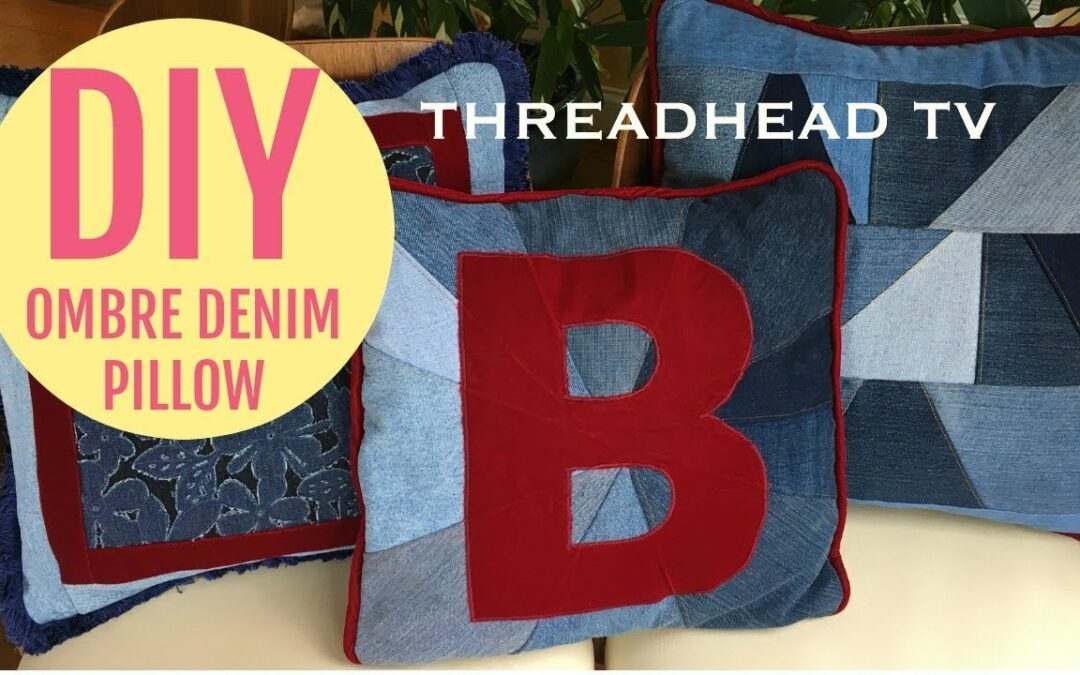
Decide how big you want your finished pillow. Mine is 16″x16″ so I needed to start with a pattern that was 17″ square to allow for 1/2″ seam allowance. Then I folded in quarters and cut one quarter in 3 triangles as shown. I will use these 3 paper pattern pieces for the whole pillow. Some of the smaller triangles I cut on the fold of the denim, making them twice as big…
I cut 10 triangles, leaving an extra 1/2″ seam allowance around the pattern pieces. Two of the medium hue denims I used twice. The darkest 2 denim triangles are from the same pair of jeans even though one is slightly lighter than the other. And the lightest triangle is from the wrong side of my lightest denim. So in all it looks as though I used about 8 different denim shades when in fact I used 6.
Step 2: Sew the Triangles
Sew the triangles together, right sides facing each other. The point in the middle where the triangles all meet doesn’t have to be pretty as we are going to cut this out due to the bulk it will create. Iron the seam allowances all to one side and then topstitch using a jean topstitch color and thickness of thread (like a goldenrod yellow or burnt orange color). Lengthen your stitchlength to 3 when topstitching and use a topstitch needle if possible. This topstitch should be done with the right side facing up after all your triangles are sewn together. Sew a line 1/4″ away from the seam.
Step 3: Cut Away Center Bulk & Square-up Outer Edges
Turn to wrong side and cut away as much center bulk as you can so that your square lays flat. It’s okay if you cut a hole in the center in the process. You can patch the hole as I did and you will be covering that up later with your letter or graphic.
Use your rotary cutter and ruler to cut your square into a perfect square. Mine is 17″x17″ at this point.
Step 4: Add Letter or Graphic
For steps 4-6 see:
https://www.instructables.com/id/Ombre-Denim-Throw-Pillow/
Pinterest: https://www.pinterest.com/ThreadheadTV/
Instagram: https://instagram.com/jude_threadheadtv/
Facebook: Threadhead TV
#joann #joannfabrics #bernina #hobbylobby #handmadewithjoann
Rhodesia by Twin Musicom is licensed under a Creative Commons Attribution license (https://creativecommons.org/licenses/by/4.0/)
Artist: http://www.twinmusicom.org/
Recent Comments